How to paint metal railings correctly

Painting Rusty and Galvanized Railings – Step-by-Step Instructions
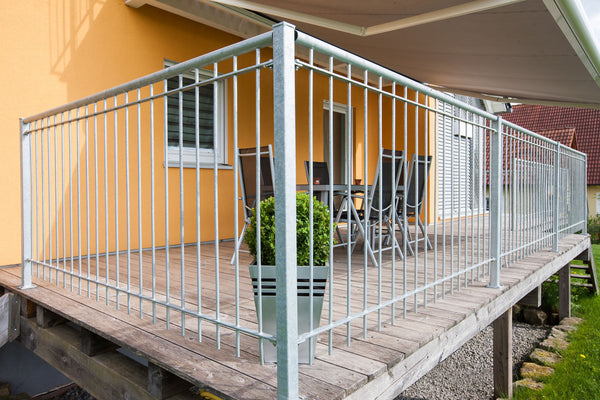
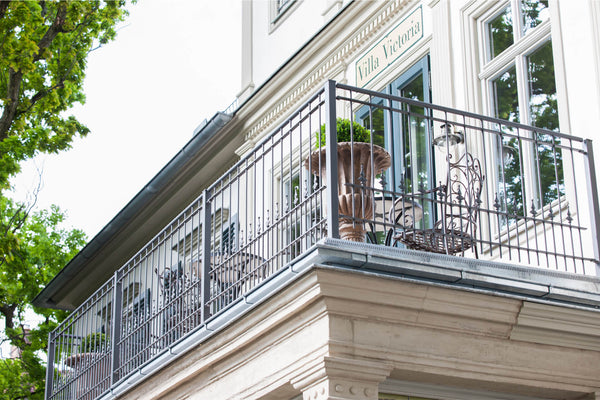
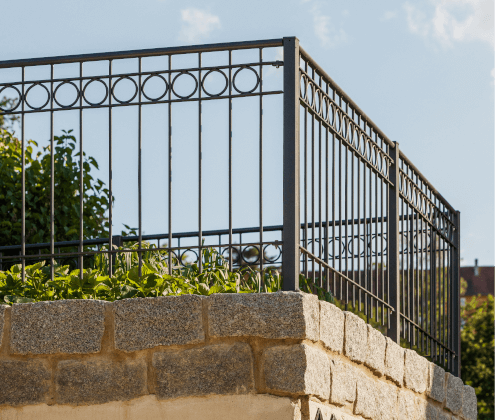
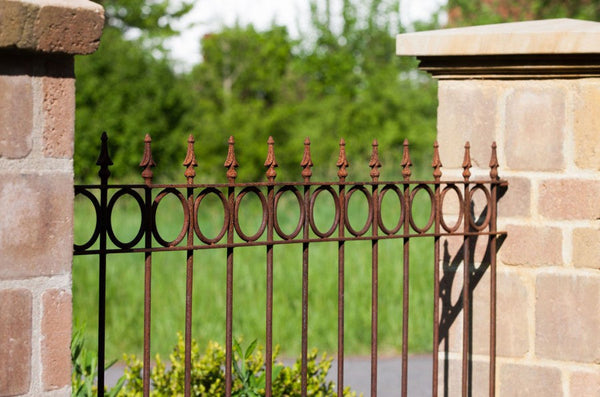
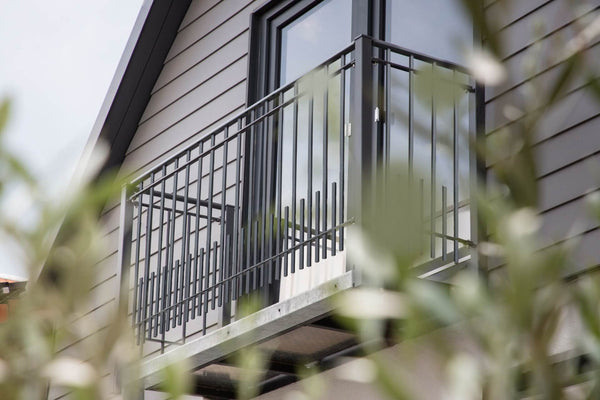
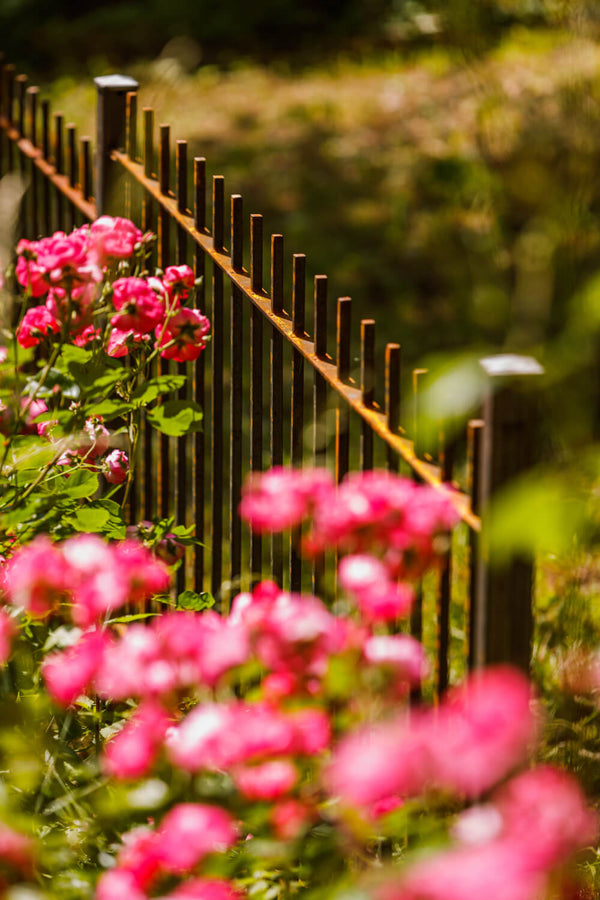
A metal railing on a balcony or staircase is a true ornament to the house. It becomes annoying when rust spoils its beautiful appearance. Initially, it usually only forms a so-called rust film, which can be quickly removed. Over time, however, the rust can increase in intensity, penetrate the metal, and cause damage. This then appears as holes. You can restore the railing's shine by removing the rust and giving it a coat of paint.
We explain step by step how to paint your rusty railing – from rust removal to the actual painting. We also take a look at painting galvanized railings. These require a slightly more specialized treatment.
Painting Metal Railings: The Most Important Things in Brief
- Pretreatment is important when painting a metal railing.
- Remove rusty spots with sandpaper or rust converter.
- For galvanized railings, a wetting agent wash is also necessary.
- The actual paint application can be done with a brush or spray gun.
- Choose a paint in your desired color that is weather- and UV-resistant.
You can find detailed instructions in the article. Good luck painting your railing!
Removing and Painting Rust from Balcony Railings
Removing rust from your railing is done in just two steps. Next comes the painting.
Step 1: Remove dirt and grease
Before you start painting your rusty railing, you should first clean it. Remove dirt and grease using a mild detergent, a degreaser, and warm water. Clean your railing with a soft sponge or cloth and then let it dry thoroughly.
Step 2: Sanding the rusty railing
Now it's time to sand. For this, you will need:
- Sandpaper (80, 100, and 120 grit)
- Wire brush
- Angle grinder (optional)
- Safety mask
- Safety goggles
Safety first – always wear a protective mask and safety goggles. This protects you from fine dust and flying rust particles during the sanding process.
Use coarse sandpaper (80 grit) and a wire brush to remove loose layers of rust. For larger surfaces, you can also use an angle grinder. If your railing has delicate decorations, a so-called mini sander is a good option, as it allows you to easily reach even smaller angles, curves, and gaps.
Once the coarsest rust has been removed, you can continue with 100 grit and finally 120 grit sandpaper. Then wipe the railing again to remove any remaining fine dust. In the final step, the railing is brushed with a primer to optimally prepare it for painting.

Painting railings without sanding: Is it possible?
Admittedly, sanding a rusty railing is time-consuming. If you don't feel like doing it yourself, you can also use rust converters. You can get this at a hardware store. The rust converter ensures that the rust is transformed into a protective layer, which conveniently also serves as a primer. Important to know: When using rust converter, the surface of your railing will become slightly roughened. Allow the rust converter to dry thoroughly before painting.
Step 3: Painting the Railing
Now it's finally time to paint your wrought iron railing. Use synthetic resin varnish in your desired color or epoxy resin. The latter offers greater mechanical strength. You can use a standard brush for the paint job.

Paint or spray railings?
As an alternative to painting with a brush, you can also apply the paint with a spray gun. The advantage of this is that the paint is applied more evenly. You can avoid typical paint drips – which quickly occur when painting with a brush – by spraying the paint.

Painting galvanized railings – here's how
A galvanized metal railing can withstand the elements for years and generally doesn't need to be painted. However, if you decide to paint it for aesthetic reasons, there are a few details to consider.
Zinc has the property of forming a difficult, permanent bond with paint. However, you can counteract this problem by thoroughly pre-treating it, including a zinc wash.
Step 1: Pre-treatment
First, remove loose dirt and grease residue from the railing. To do this, use a mild cleaning agent, degreaser, and warm water.
Then, roughly sand the railing. Next comes the wetting agent wash, which is necessary to artificially roughen the surface. You can either use a zinc cleaner available at a hardware store or mix the solution yourself. You will need:
- Water
- Diluted ammonia solution (also called ammonia spirit)
- Dishwashing liquid
Mix water and ammonia in a 10:1 ratio and add a squirt of dishwashing liquid. Stir – done.
Put on gloves and apply the solution with a sponge. Then sand the railing with a plastic sanding pad until a gray foam forms. Allow the foam to work for a few minutes and then rinse it off with water.
Your galvanized railing is now ready for priming.
Step 2: The Primer
To create a bonding base, use a primer from a hardware store—for example, an all-purpose primer. First, treat the corners and edges of the railing, then the remaining surface. Ideally, apply the primer in two coats. Allow to dry thoroughly. Then roughen the surface with sandpaper.

Step 3: Painting
Now comes the actual painting process, using a weather- and UV-resistant paint in your desired color. It's best to start with the small railing decorations – if any – and then paint the larger areas. Ideally, apply the varnish in two coats. Then let it dry thoroughly. Done!

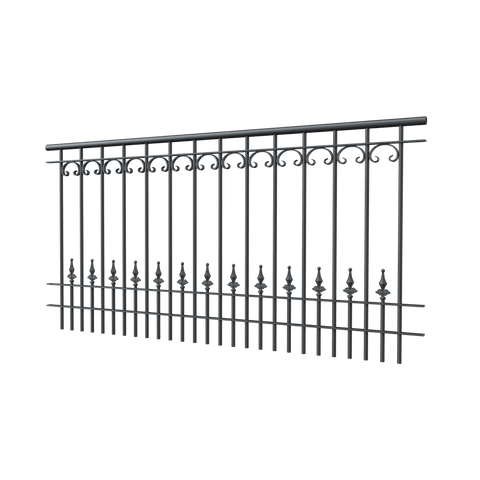
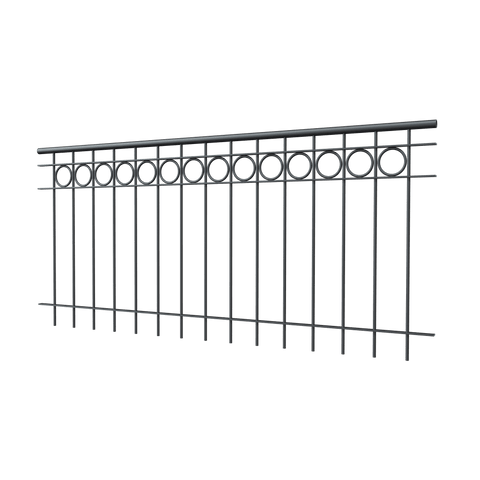
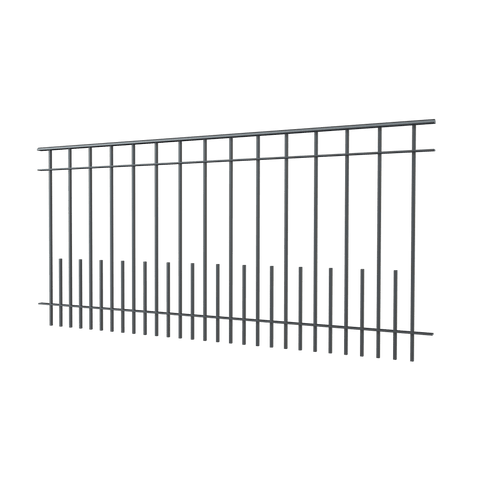
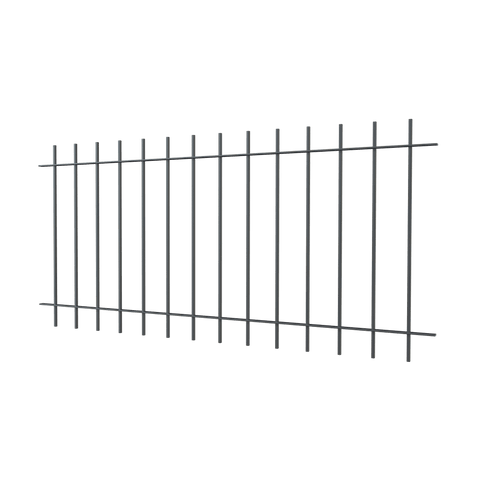
Old railing to be removed? Find your new dream railing here.
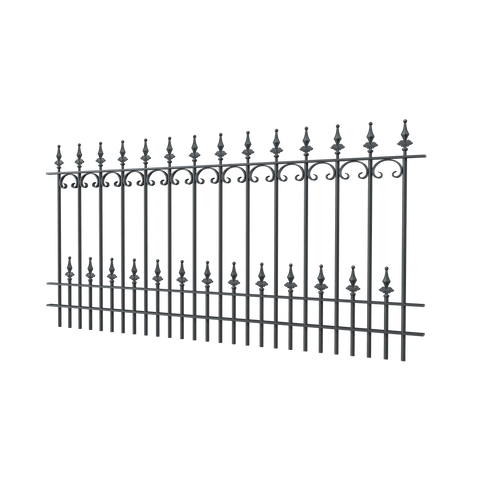
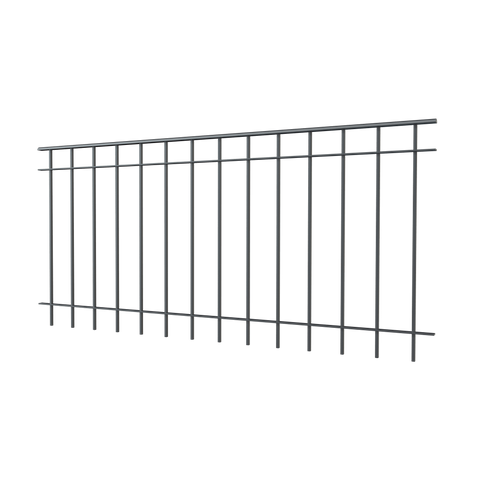
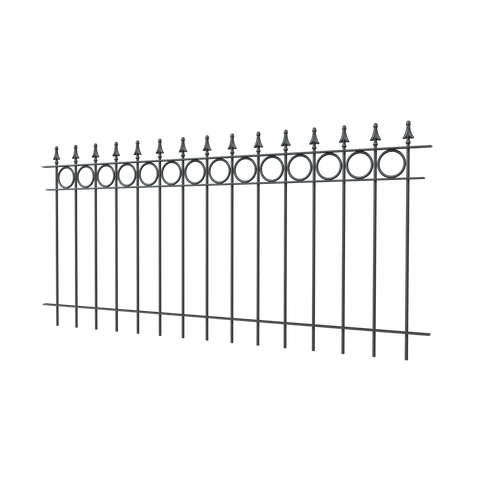
If your balcony railing is too old and even a fresh coat of paint doesn't help, it's time for something new. Take a look at our selection of high-quality, weather-resistant railings made from dimensionally stable wrought iron.
Differences between metal railings and wooden railings at a glance
|
Features |
Metal railings |
Wooden railings |
|
Durability |
high |
low |
|
Optics |
modern |
rustic |
|
Maintenance |
low |
high |
|
Costs |
high |
moderate |

Available in different coatings
Available in different coatings
Available in different coatings

Available in different coatings

Available in different coatings
Available in different coatings
Available in different coatings
Available in different coatings

Tip: If you use a spray gun, you should first cover the area around your railing generously with protective tarpaulins.
Artikel teilen